

I really love Sitecore Experience Accelerator (SXA). It gives content editors set of components that can be used and added into the pages from Day 1. It adds lots of other functionalities but about that maybe more in one of my following blog posts 🙂
Today I want to do a short walk-through on how to configure and use Map Component from SXA.
I will show you:
- How to get and use Authorization Key for Google Maps
- How to set central point
- How to define POIs
- How to set Height and Width of map
- How to set Map Mode
- How to set Zoom level
Let’s get started then, we have plenty of settings ahead 🙂
Authorization Key
This is the most important thing that you need to set up. Due to recent changes in Google Maps licensing, you need to enable some APIs on your Google account and also generate Authorization key for those APIs.
Take a look in my blog post on how to set this correctly and with proper APIs enabled in Google Cloud Console.
In Sitecore SXA you need to afterwards configure Map Provider and set previously generated Authorization key there.
This is the basis for follow up settings described below. Without this, functionality presented below will be limited or not possible at all.
Setting Central Point
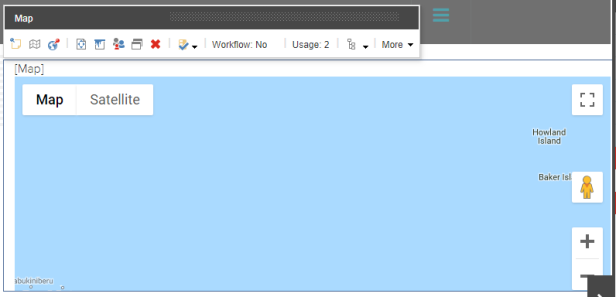
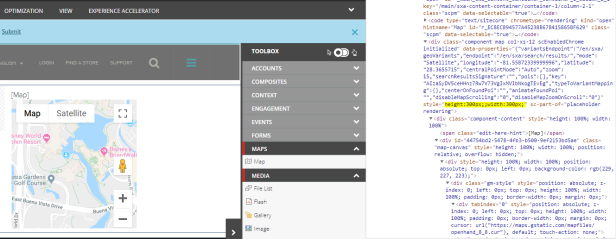
When you add Map component to your page, you can see Pacific Ocean all over the place:
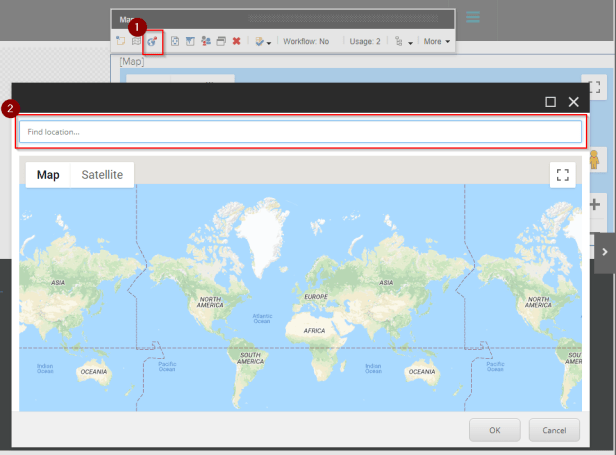
Click on “Select map central point” button (1) and dialog window will be opened where you can specify location (2):
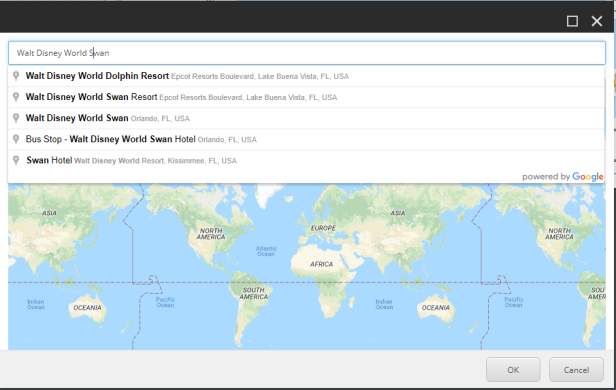
You can specify here specific address or name of the place. Search suggestions will appear. I will use location of Sitecore Symposium 2018:
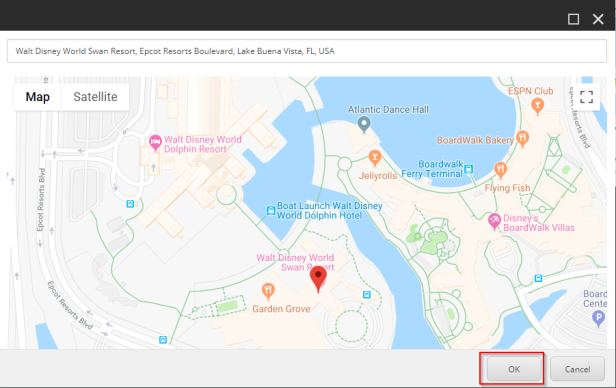
Click on one of the options and hit “OK” button:
Still Map is showing ocean as it is OOTB configured to show all POIs visible.
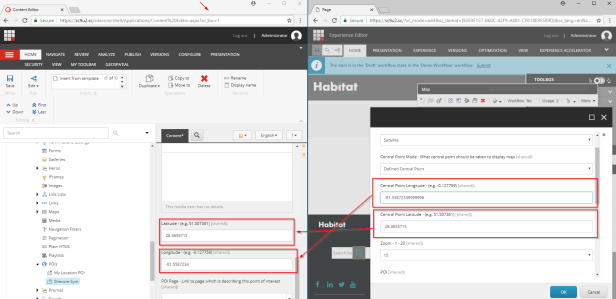
Therefore, click on “Edit component map item” (1) and in the dialog window change “Central Point Mode” field value (2) from “All POIs visible” to “Defined Central Point” and hit “OK” button:
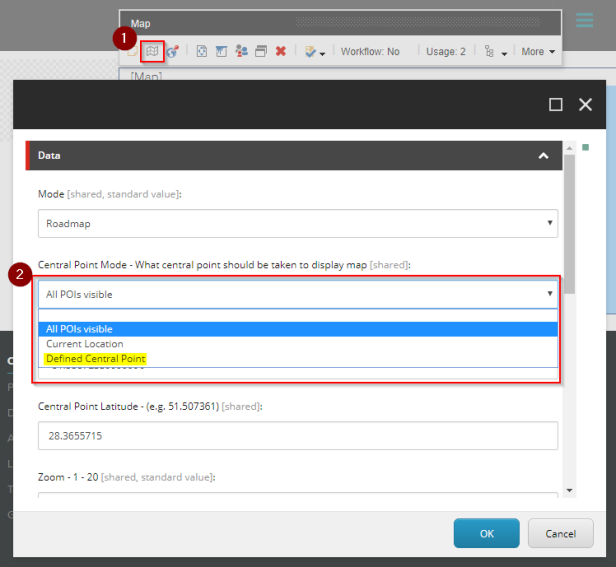
Mind the Central Point Latitude (visible on above picture) and also Longitude (hidden by dropdown) values. These were automatically set in previous dialog where we have specified location of central point. How cool, right?
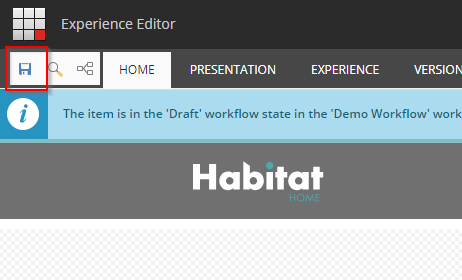
Don’t forget to save our progress. Do not forget to do it constantly with SXA so you won’t loose your work in progress:
Finally it looks decent: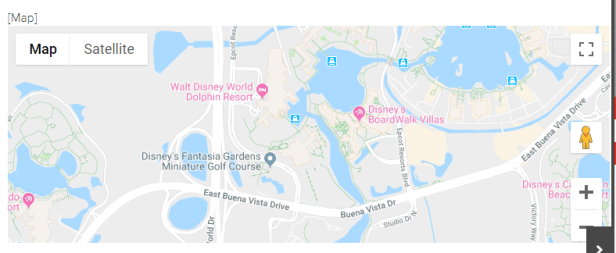
Although there are no POIs so visitors don’t know what they are looking onto. This can be confusing for them. Let’s fix that.
Setting POIs
You can set one or more Points of Interest (POIs) for your map.
You can do it from Content Editor by navigating to your Site > Data item and POIs subitem:
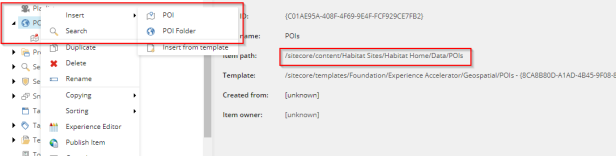
Right click on “POIs” item, select “Insert” and “POI”.
Name your item based on place or as “Company HQ” or something similar.
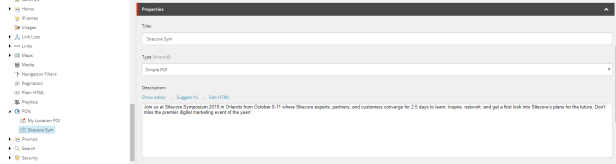
Specify Title and Description fields and set Type to “Simple POI”:
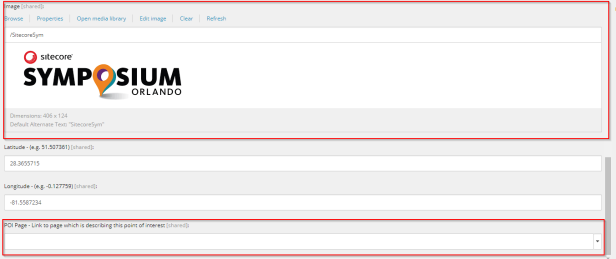
Copy Longitude and Latitude from our Central Point defined in previous section:
If you wish you can also specify Image and POI Page but they are not used in OOTB rendering variant so they won’t appear instantly. You need to follow these guidelines to add them (or more fields).
We need to enable this newly created POI in our map. Go back to Experience editor where you have map and click on “Edit component map item” (1) and in the dialog window push your POI to selected POIs (to the right column) (2):
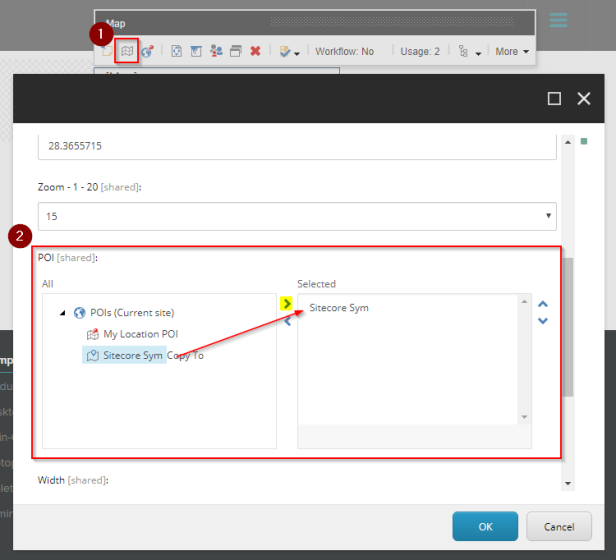
Click “OK” and don’t forget to save page to apply changes!
You should see small pin on the map:

and if you click on it, it will display details defined in Title and Description fields before:

If you forget to set Type field value to “Simple POI”, POI will be just dummy point on the map without any functionality and no further information will be displayed (as no rendering variant is applied):
Setting Width and Height
Map component will nicely use all the space which is available in its current column/row or placeholder. Map is really nicely responsive. Sometimes you are required (by design) to have map in square shape so having height and width the same. Usually this is required when placing map in Footer as one of the columns.
This can be really nicely achieved by clicking on “Edit component map item” (1) and in the dialog window set Width (2) and Height (3) fields to your desired value:
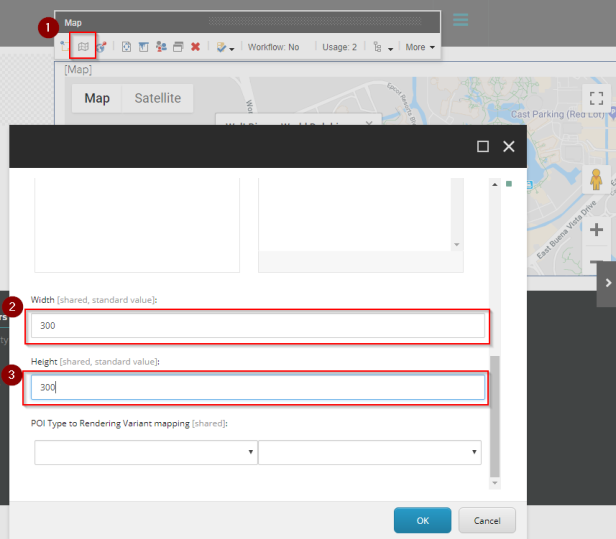
Don’t forget to save page to apply changes!
I have used “300” for this demonstration and this is the outcome:
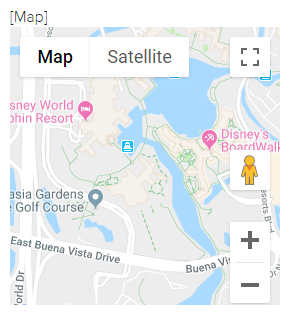
Mind that the value which you specify will be used in pixels (px):
Defining Mode
In this section I would like to showcase defining Mode. You have various options here like “Roadmap”, “Satellite”, “Hybrid” or Bing specific “Auto” and “Birdseye”.
Click on “Edit component map item” (1) and in the dialog window select your preference (2):
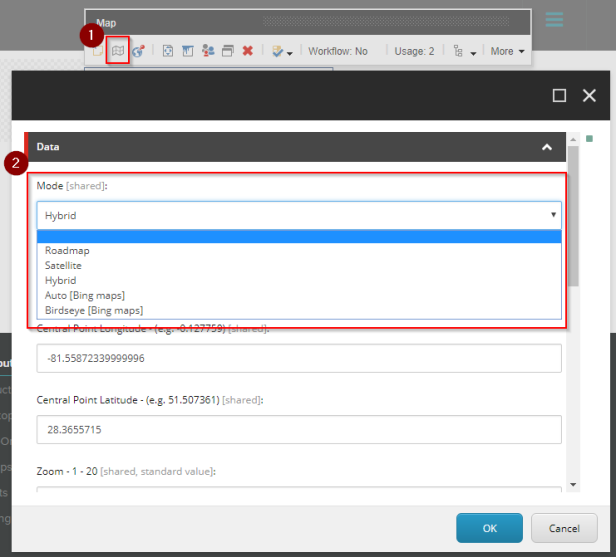
Don’t forget to save page to apply changes!
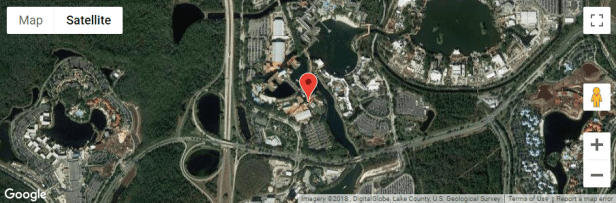
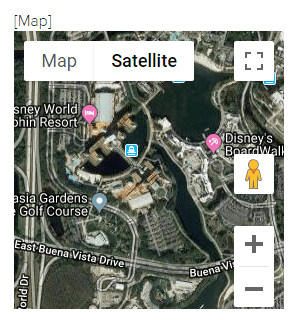
I have used “Satellite” for this demonstration and this is the outcome:
Zoom level
Last but not least is the setting for Zoom level.
Click on “Edit component map item” (1) and in the dialog window select Zoom level as integer number between 1 and 20 (2) from drop down (15 is default value):
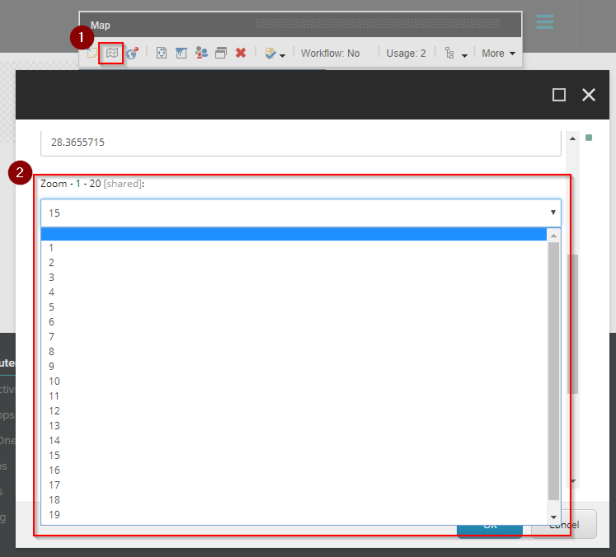
Don’t forget to save page to apply changes!
The higher number you choose, higher you are zooming in. Outcome when 18 was chosen (Nice detail of the hotel from outside) :

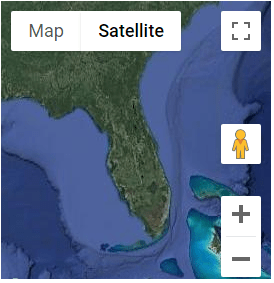
The lower number you choose, higher you are zooming out. Outcome when 5 was chosen (Florida can be nicely recognized):
Conclusion
Hopefully this blog post will help you not to get lost in all the nice settings of SXA Map component and friendly suggestion – use Google Maps not to get lost in real life 🙂
Till next time…
