
Sitecore released Sitecore 9.0.2 (Sitecore 9 Update 2) on 22nd June 2018. In this post I will describe how to install this version of Sitecore.
If you haven’t created VM so far or configured your machine, follow this post that I have created couple of months ago. It will help you install and configure all prerequisites in terms of Windows Server and server itself.
If you haven’t so far configured Solr (together with SSL enabled) on your machine / VM, follow my blog post about installing Sitecore 9.1 where I mention really handy script to do it just by running simply Powershell script. Mind that for Sitecore 9.0.2 you need Solr 6.6.2 not 7.2.1 (mentioned in that article) so just change version in the script accordingly!
In this post, I will show you how to:
– Install Sitecore Install Framework (SIF) and Sitecore Fundamentals PS modules
– Install Sitecore 9.0.2
Let’s get started!
1) Install Sitecore Fundaments and Sitecore Install Framework (SIF)
1a)
Sitecore 9.0.2 or Sitecore 9 Update 2 version supports new version of SIF – Sitecore Installation Framework 1.2. This version needs Powershell 5.1.
Open PowerShell as Administrator and run these three commands one by one:
-
Register-PSRepository -Name SitecoreGallery -SourceLocation https://sitecore.myget.org/F/sc-powershell/api/v2 -InstallationPolicy Trusted
-
Install-Module -Name SitecoreFundamentals -Repository SitecoreGallery -MaximumVersion 1.1.0
-
Install-Module -Name SitecoreInstallFramework -Repository SitecoreGallery -MaximumVersion 1.2.1
After first one just hit “Enter” key when asked to approve interaction with NuGet-based repositories.
1b)
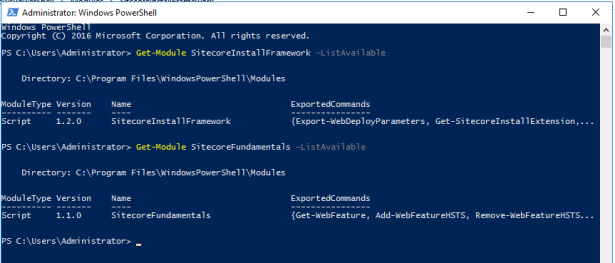
Verify installation of modules by opening PowerShell as Administrator and running these commands:
Get-Module SitecoreInstallFramework –ListAvailable
And
Get-Module SitecoreFundamentals –ListAvailable
Desired output:
2) Preparing installation files for Sitecore 9.0.2 / Sitecore 9 Update 2
2a)
Copy your license.xml file into “C:\resourcefiles” folder.
2b)
Download installation package with name “Sitecore 9.0.2 rev. 180604 (WDP XP0 packages).zip” as we are installing Sitecore to single instance.
You can download it:
– directly from this link
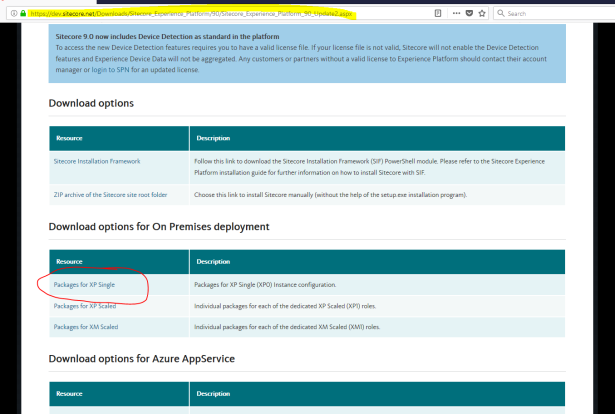
– from Sitecore 9.0.2 download page by going to this page, navigating to “Download options for On Premises deployment” section and downloading “Packages for XP Single” file:
2c)
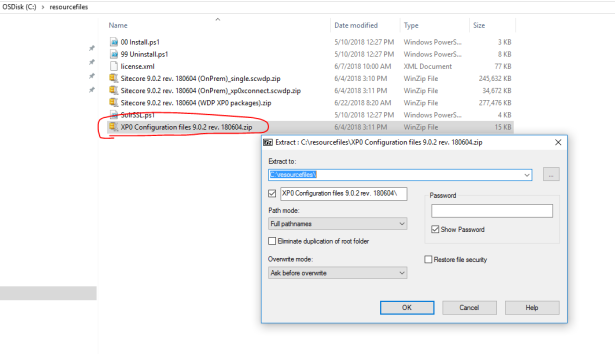
Extract downloaded file “Sitecore 9.0.2 rev. 180604 (WDP XP0 packages).zip” to the “C:\resourcefiles” folder.
Extract to the very same folder freshly extracted “XP0 Configuration files 9.0.2 rev. 180604.zip” file:
Remove below files from this folder as they are no longer needed:
– Sitecore 9.0.2 rev. 180604 (WDP XP0 packages).zip
– XP0 Configuration files 9.0.2 rev. 180604.zip
2d)
Download powershell scripts from githubmy github repository and place them in “c:\resourcefiles”.
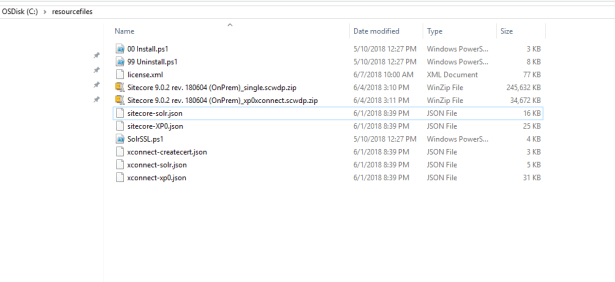
You should end up with similar file listing in “c:\resourcefiles” folder as below:
3) Installing Sitecore 9.0.2 / Sitecore 9 Update 2
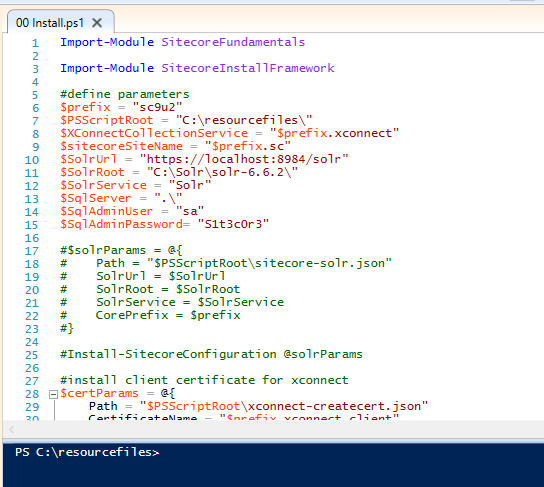
Open “c:\resourcefiles\01 Install.ps1” through Powershell ISE.
You can leave all parameters as they are.
If you wish, you can specify prefix (Sitecore instance name) and maybe sql admin username and password (to suit your configuration). Everything else should be the same (If you have followed my setup of prerequisites and SOLR from the beginning of this blog post).
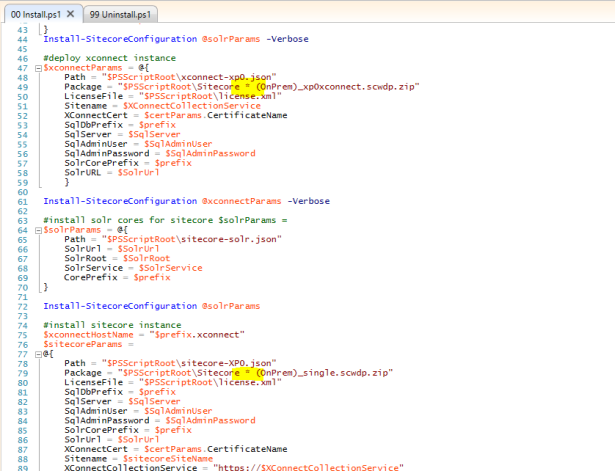
Mind the * in the file names in my script below. This will help you in the future if update 3 and so on are released. This script will still work 😉
Run the script!
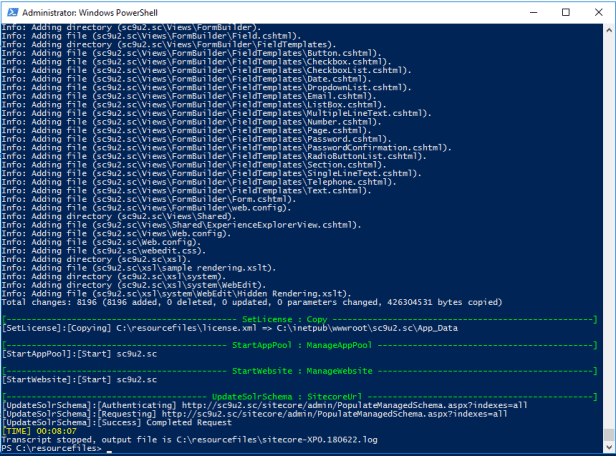
On my machine it took 7-8 minutes to finish all steps so take a short brake.
Voila 🙂
Open Sitecore in your browser. For me, I have navigated to “http://sc9u2.sc/sitecore”, typed obligatory admin / b and I was in.
I saw instantly a new feature in Update 2 – Update Center 🙂
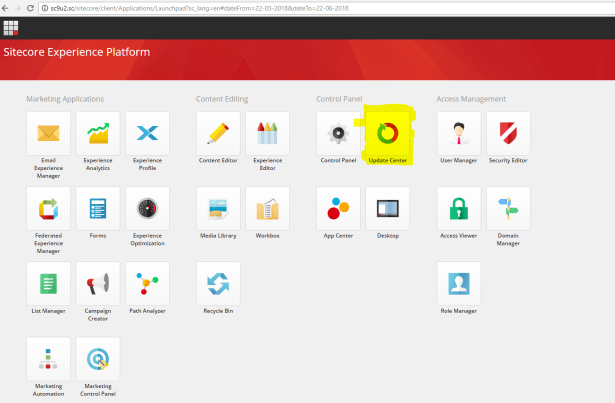
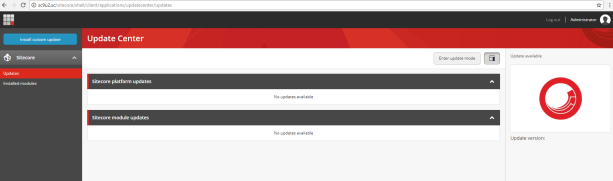
Looks pretty nice. More information about this new feature can be found in Sitecore online documentation.
Don’t forget to continue with Post-Installation steps which you can find in Chapter 6 (from page 39) of Installation Guide!
Successful installations to all!
——————————————————
Used sources:

Thanks for the example. You can also register the powershell modules instead of downloading them manually. Run PowerShell as admin and execute:
1. Register-PSRepository -Name SitecoreGallery -SourceLocation https://sitecore.myget.org/F/sc-powershell/api/v2 -InstallationPolicy Trusted
2. Install-Module -Name SitecoreFundamentals -Repository SitecoreGallery -MaximumVersion 1.1.0
3. Install-Module -Name SitecoreInstallFramework -Repository SitecoreGallery -MaximumVersion 1.2.1
LikeLike
I will update blog post soon with this comment. Seems like a much faster approach to my oldschool “manual” way. Thanks for the comment.
LikeLike
Hi,
Did you try install sitecore 9.0.2 directly to Azure SQL database instead local SQL Server ?
LikeLike
I haven’t unfortunately. If you are struggling with something, best is to create question on https://sitecore.stackexchange.com/ or ask on https://sitecorechat.slack.com in #azure channel
LikeLike