
I have described and done installation of Initial Release of Sitecore Experience Commerce (SXC) 9.0 in my previous blog post.
Some weeks have passed since and Sitecore released Update 1 with couple of fixed and enhancements. You can see most visible corrective content included in this update in release notes.
I was following official Sitecore upgrade instructions. Link can be found at the end of this article. There were couple of things which description was not so wide. This article will help you out to fill out some gaps.
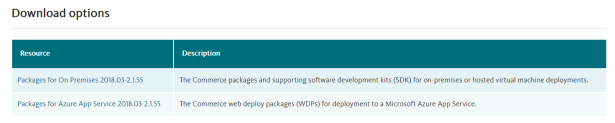
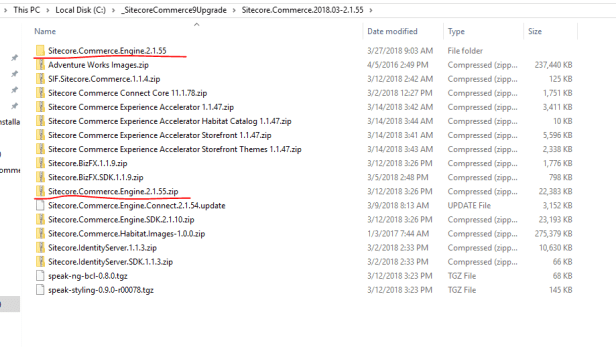
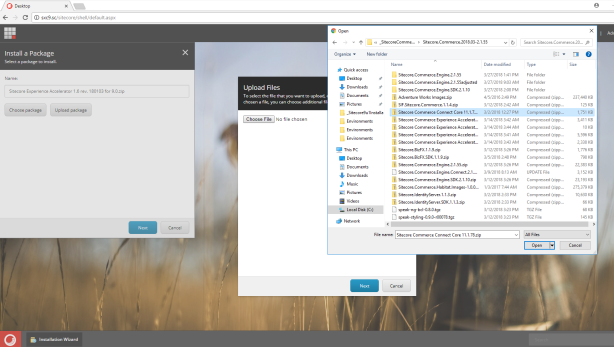
Before starting with any other tasks, you need to download installation package for SXC 9 Update 1. There is no dedicated upgrade package!
Installation package for SXC 9 Update 1 can be found here.
You need to choose appropriate package based on your installation. I have chosen “Packages for On Premises” as my installation was on premise.
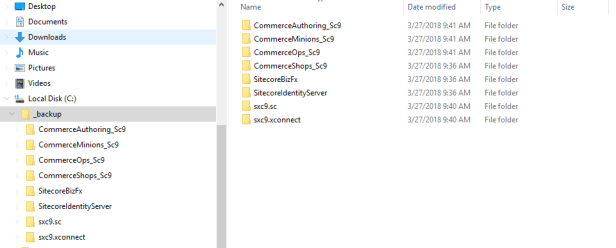
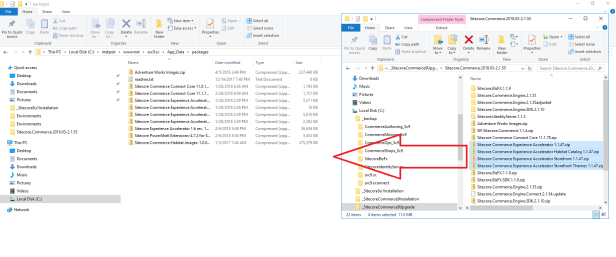
When download finishes, unpack downloaded zip file:

I have also made a backup of all sites before proceeding with upgrade, just to have old files if they are needed in the future:
Now it is time to do upgrade as all preparations are done 🙂
As per upgrade instructions, I’ve done upgrade in four steps:
- Upgrade Commerce Engine, Commerce Connect Core, Commerce Engine Connect
-
Upgrade BizFx
- Upgrading Identity Server
-
Deploying Storefront
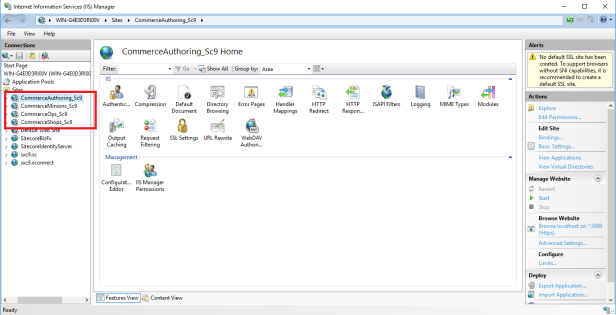
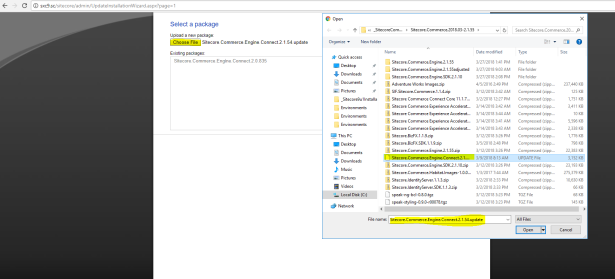
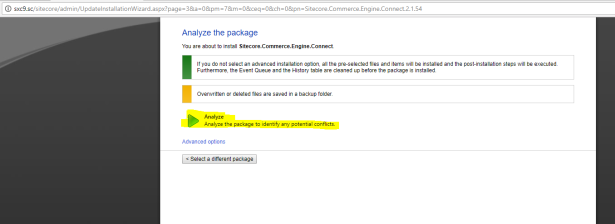
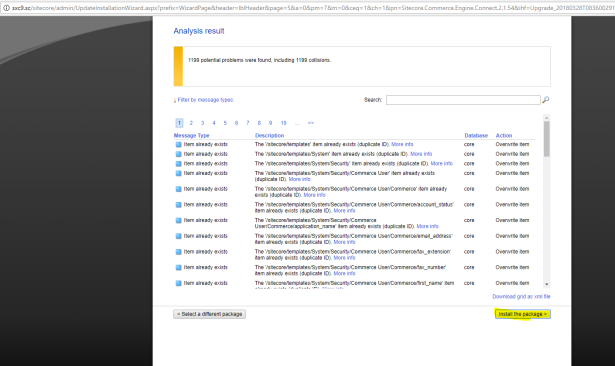
Step 1: Upgrade Commerce Engine, Commerce Connect Core, Commerce Engine Connect
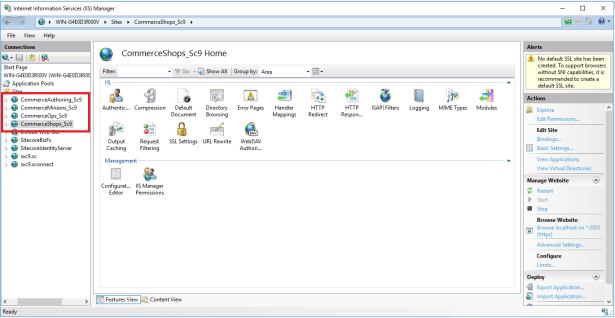
- CommerceAuthoring_Sc9
- CommerceMinions_Sc9
- CommerceOps_Sc9
- CommerceShops_Sc9
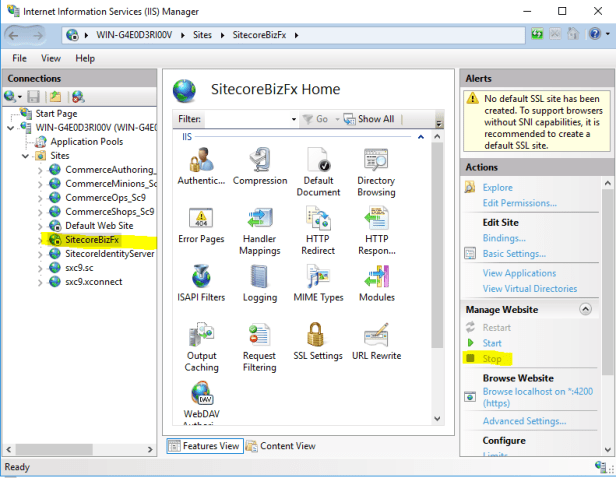
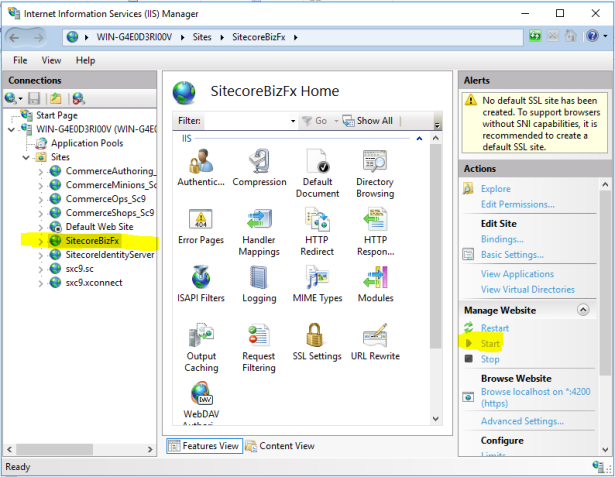
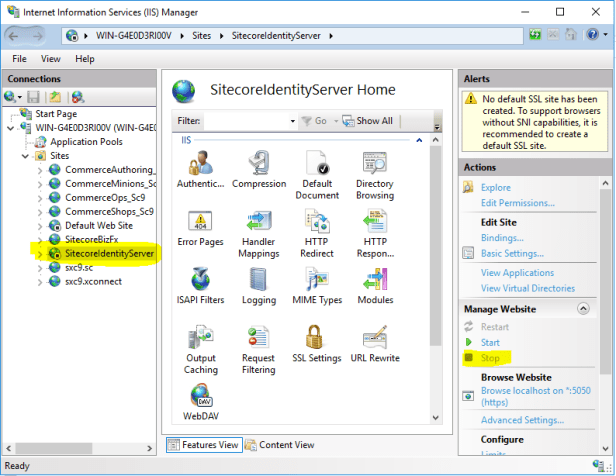
In IIS, stop all sites.
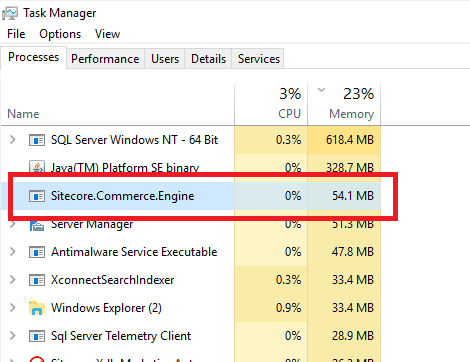
You also need to stop “Sitecore.Commerce.Engine” process through Task Manager in order to accomplish next step. This is not mentioned in Upgrade instructions!
If you don’t do this, you won’t be able to replace files in CommerceMinions_Sc9 site in next step!
1b) Replace all files in each Engine service parent folder only with the 9.0 Update-1 versions, each of:
- CommerceAuthoring_SC9
- CommerceShops_SC9
- CommerceMinions_SC9
- CommerceOps_SC9
- “data” folder
- “config.Development.json” file
- “config.json” file
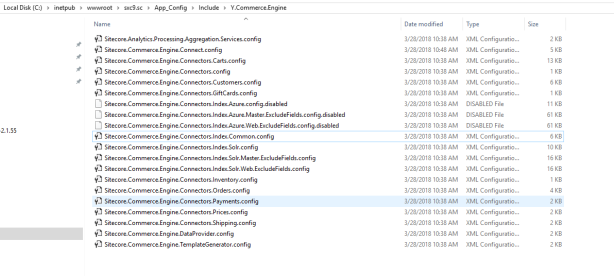
“wwwroot ” folder should look like this at the end:

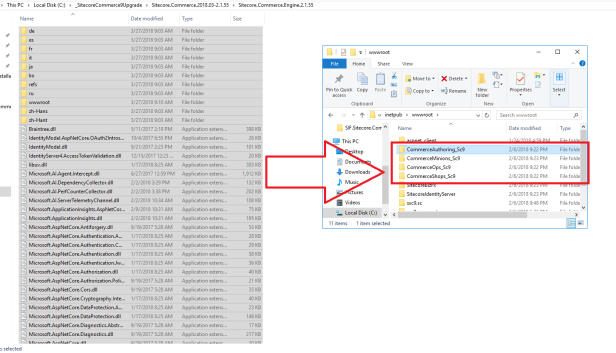
Copy into clipboard whole adjusted Sitecore.Commerce.Engine.2.. folder.
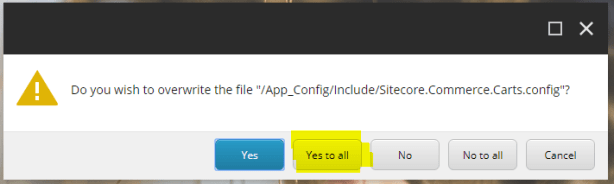
Paste it into respective c:\inetpub\wwwroot subfolder for each site replacing exiting content of those folders:
- CommerceAuthoring_SC9 -> c:\inetpub\wwwroot\CommerceAuthoring_SC9
- CommerceShops_SC9 -> c:\inetpub\wwwroot\CommerceShops_SC9
- CommerceMinions_SC9 -> c:\inetpub\wwwroot\CommerceMinions_SC9
- CommerceOps_SC9 -> c:\inetpub\wwwroot\CommerceOps_SC9
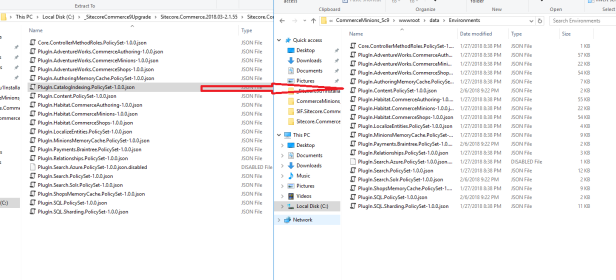
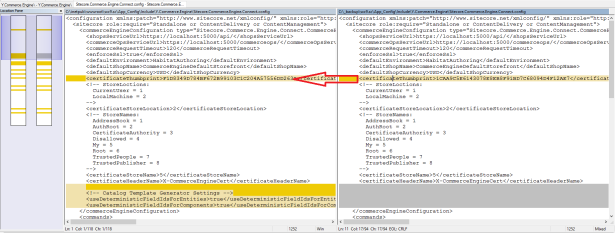
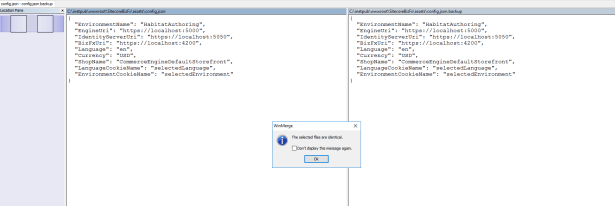
1c) Manually change environment files
- CommerceAuthoring_SC9 -> c:\inetpub\wwwroot\CommerceAuthoring_SC9\wwwroot\data\Environments
- CommerceShops_SC9 -> c:\inetpub\wwwroot\CommerceShops_SC9\wwwroot\data\Environments
- CommerceMinions_SC9 -> c:\inetpub\wwwroot\CommerceMinions_SC9\wwwroot\data\Environments
- CommerceOps_SC9 -> c:\inetpub\wwwroot\CommerceOps_SC9\wwwroot\data\Environments
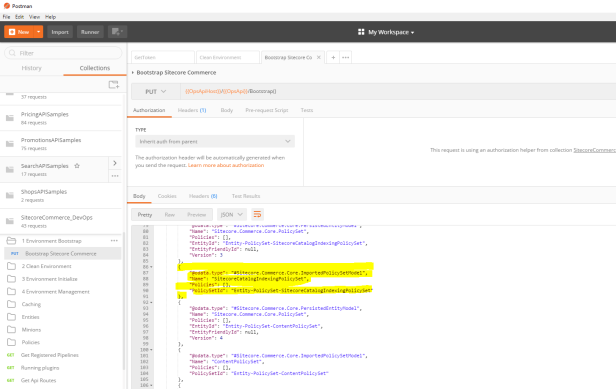
{“$type”: “Sitecore.Commerce.Core.PolicySetPolicy, Sitecore.Commerce.Core”,“PolicySetId”: “Entity-PolicySet-SitecoreCatalogIndexingPolicySet”},

- C:\inetpub\wwwroot\CommerceAuthoring_Sc9\wwwroot\data\Environments\PlugIn.Habitat.CommerceAuthoring-1.0.0.json
- C:\inetpub\wwwroot\CommerceAuthoring_Sc9\wwwroot\data\Environments\PlugIn.Habitat.CommerceShops-1.0.0.json
- C:\inetpub\wwwroot\CommerceMinions_Sc9\wwwroot\data\Environments\PlugIn.Habitat.CommerceAuthoring-1.0.0.json
- C:\inetpub\wwwroot\CommerceMinions_Sc9\wwwroot\data\Environments\PlugIn.Habitat.CommerceShops-1.0.0.json
- C:\inetpub\wwwroot\CommerceOps_Sc9\wwwroot\data\Environments\PlugIn.Habitat.CommerceAuthoring-1.0.0.json
- C:\inetpub\wwwroot\CommerceOps_Sc9\wwwroot\data\Environments\PlugIn.Habitat.CommerceShops-1.0.0.json
- C:\inetpub\wwwroot\CommerceShops_Sc9\wwwroot\data\Environments\PlugIn.Habitat.CommerceAuthoring-1.0.0.json
- C:\inetpub\wwwroot\CommerceShops_Sc9\wwwroot\data\Environments\PlugIn.Habitat.CommerceShops-1.0.0.json
{“$type”: “Sitecore.Commerce.Plugin.Promotions.GlobalPromotionsPolicy, Sitecore.Commerce.Plugin.Promotions”,“MaxPromotionNameLength”: “50”,“MaxPromotionBookNameLength”: “50”,“PromotionsRequireApproval”: “true”},
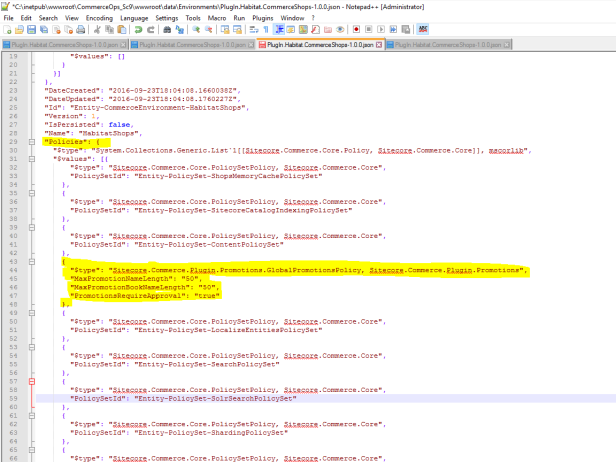
I have added that policy type to these files:
- C:\inetpub\wwwroot\CommerceAuthoring_Sc9\wwwroot\data\Environments\PlugIn.Habitat.CommerceShops-1.0.0.json
- C:\inetpub\wwwroot\CommerceMinions_Sc9\wwwroot\data\Environments\PlugIn.Habitat.CommerceShops-1.0.0.json
- C:\inetpub\wwwroot\CommerceOps_Sc9\wwwroot\data\Environments\PlugIn.Habitat.CommerceShops-1.0.0.json
- C:\inetpub\wwwroot\CommerceShops_Sc9\wwwroot\data\Environments\PlugIn.Habitat.CommerceShops-1.0.0.json
{“$type”: “Sitecore.Commerce.Plugin.Promotions.GlobalPromotionsPolicy, Sitecore.Commerce.Plugin.Promotions”,“MaxPromotionNameLength”: “50”,“MaxPromotionBookNameLength”: “50”,“PromotionsRequireApproval”: “false”},

I have added that policy type to these files:
- C:\inetpub\wwwroot\CommerceAuthoring_Sc9\wwwroot\data\Environments\PlugIn.Habitat.CommerceAuthoring-1.0.0.json
- C:\inetpub\wwwroot\CommerceMinions_Sc9\wwwroot\data\Environments\PlugIn.Habitat.CommerceAuthoring-1.0.0.json
- C:\inetpub\wwwroot\CommerceOps_Sc9\wwwroot\data\Environments\PlugIn.Habitat.CommerceAuthoring-1.0.0.json
- C:\inetpub\wwwroot\CommerceShops_Sc9\wwwroot\data\Environments\PlugIn.Habitat.CommerceAuthoring-1.0.0.json

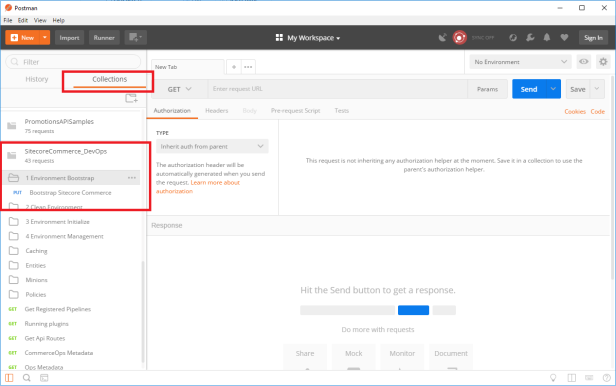
If you haven’t imported any SXC specific collections into Postman until now, then read my blog posts about adding Postman collections specific for SXC 9.
Before you continue, setup authorizing requests in Postman. Follow my blog post about authorizing requests in Postman for Sitecore Experience Commerce 9 and you are good to go.
Now continue in “Collections” pane and open “SitecoreCommerce_DevOps” collection. Expand “1 Environment Bootstrap” section and click “Bootstrap Sitecore Commerce”.
As you have set authorization token before, you can click on blue “Send” button.
If everything is alright, you will see json with list of policies and other models in response:

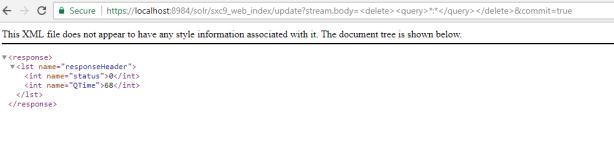
/solr/<sitename>_master_index/update?stream.body=<delete><query>*:*</query></delete>&commit=true
/solr/<sitename>_web_index/update?stream.body=<delete><query>*:*</query></delete>&commit=true
- C:\inetpub\wwwroot\<siteName>.xconnect\App_data\jobs\continuous\IndexWorker\App_data\Models
- C:\inetpub\wwwroot\<siteName>.xconnect\App_data\Models
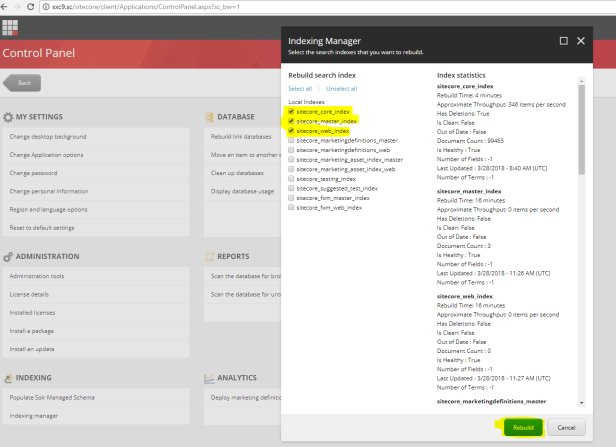
- Login to Sitecore again.
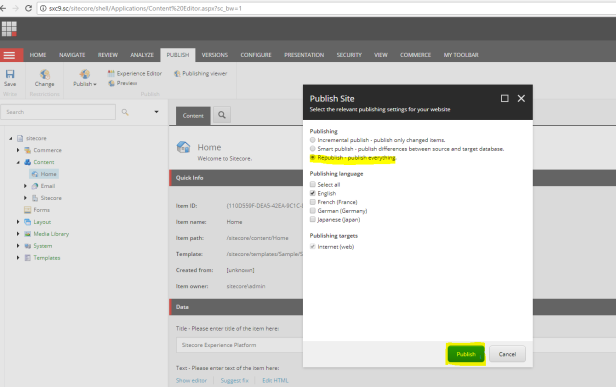
- Republish to Web.
- Rebuild Core, Master and Web indexes
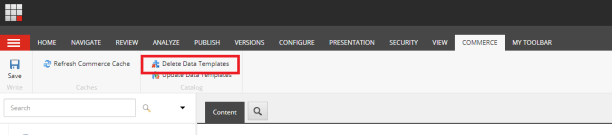
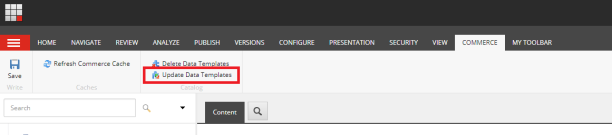
Step 2: Upgrade BizFx
- Sitecore.BizFx.*.zip
- compiled versions from the Sitecore.BizFx.SDK
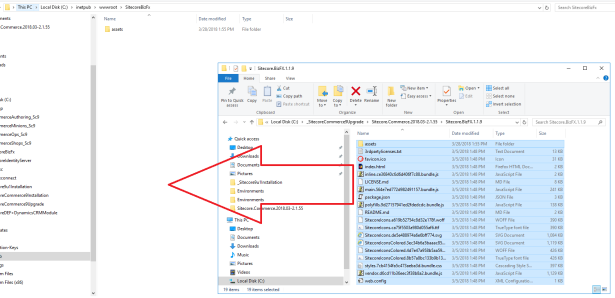
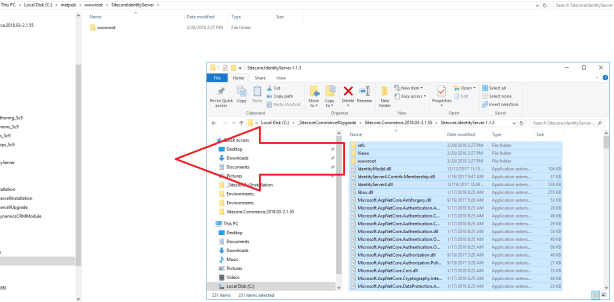
I have used the first option and just copied files from unpacked zip file to site folder:
Step 3: Upgrading Identity Server
- Sitecore.IdentityServer.*.zip
- compiled versions from the Sitecore.IdentityServer.SDK
I have used the first option and just copied files from unpacked zip file to site folder:
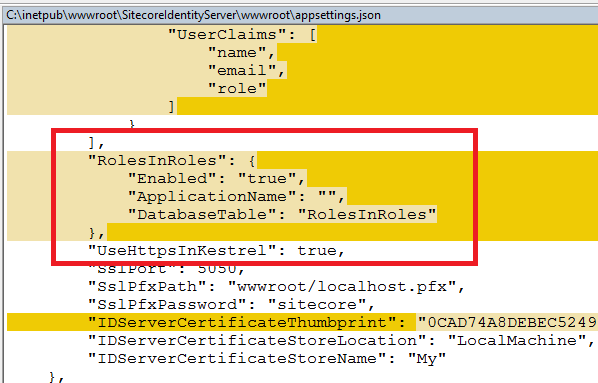
- ConnectionString

- IDServerCertificateThumbprint
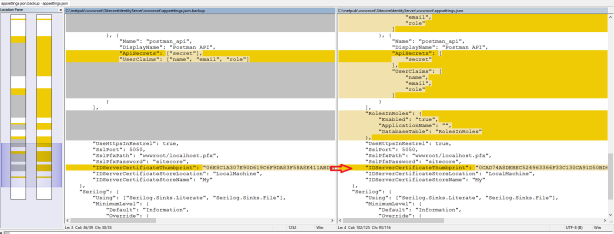
“RolesInRoles”: {“Enabled”: “true”,“ApplicationName”: “”,“DatabaseTable”: “RolesInRoles”},

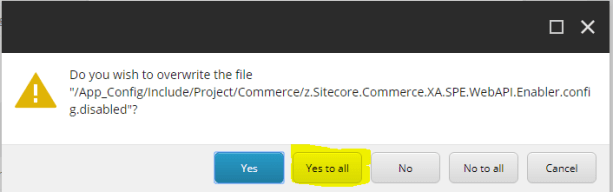
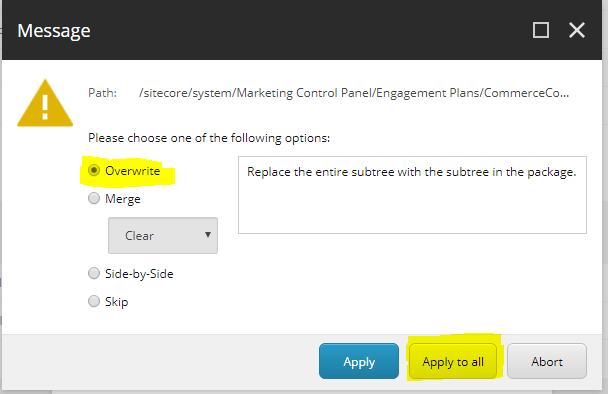
Step 4: Deploying Storefront
- Sitecore Commerce Experience Accelerator
- Sitecore Commerce Experience Accelerator Storefront
- Sitecore Commerce Experience Accelerator Storefront Themes
- Sitecore Commerce Experience Accelerator Habitat Catalog
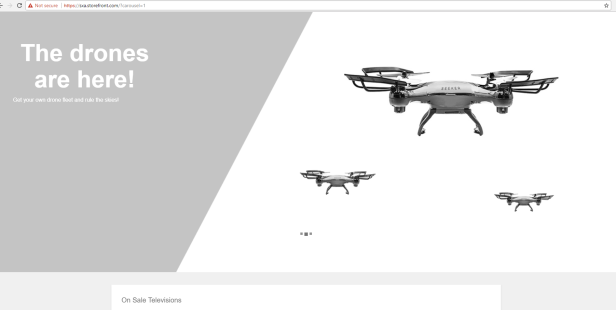
As a bonus you can change default theme to Storefront Branded if you haven’t done so until now. Just follow my blog post and your SXA storefront will look like this instead of that grey default look and feel:

Exciting and successful upgrade 🙂
——————————————————
Used sources:
