
If you have multiple publishing targets, it is always good practice to set proper permissions to either disable or completely hide some of them for particular content editors.
Multiple publishing targets can be used when you have Staging, QA or other type of environment to push content there. Public facing servers or Content Delivery (CD) servers are then using these alternative publishing target databases instead of default “web” database.
This post will help you set these permissions step by step.
1. Create Publishing Target
First things first – you need to create new publishing target. If you haven’t done so, you can follow my blog post to help you out.
2. State of art for Administrator
As for Administrator (“admin” user) no permissions are applied therefore all publishing targets are available by default:
3. Creating role
Let’s create “HidingPublishingTargets” role which we will use to set permissions. It is always best practice to create roles, set permissions on them and then assign roles to users. You shouldn’t set permissions on user level.
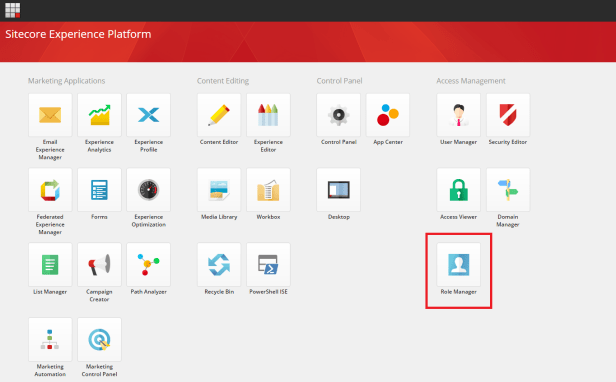
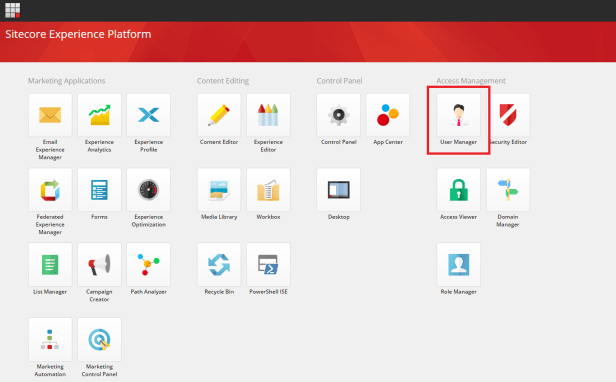
3.1. From Sitecore Launchpad, open “Role Manager”:
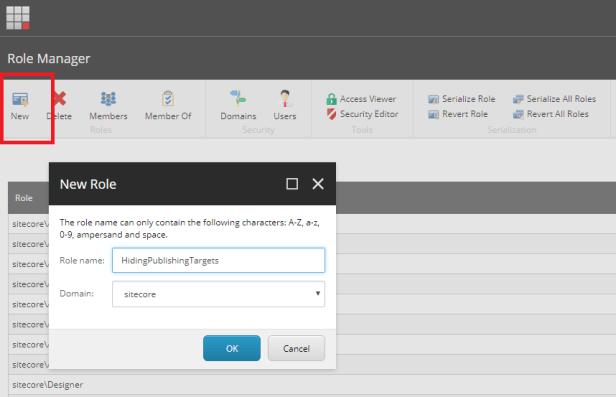
3.2. Click “New” button in toolbar in Role Manager and specify role name. In my case it was “HidingPublishingTargets”. You can leave domain as it is on sitecore.
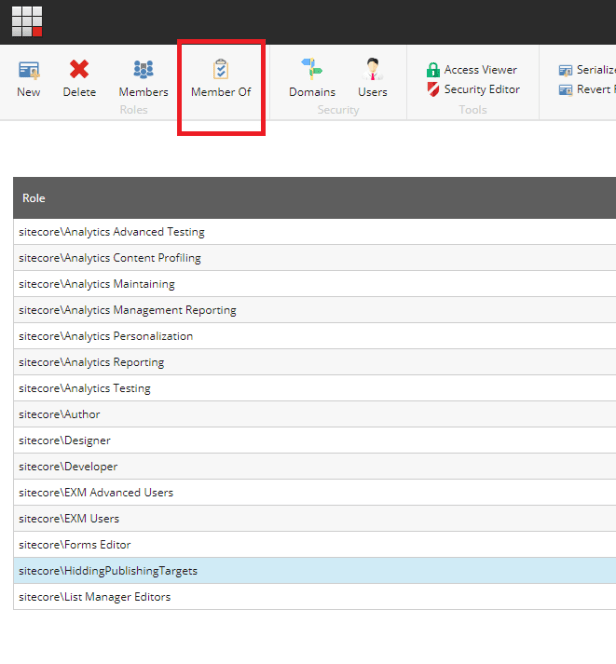
Click on “Member Of” button in toolbar for this newly created role:
 Add these two roles which will be inherited for our role:
- sitecore\Author
- sitecore\Sitecore Client Publishing
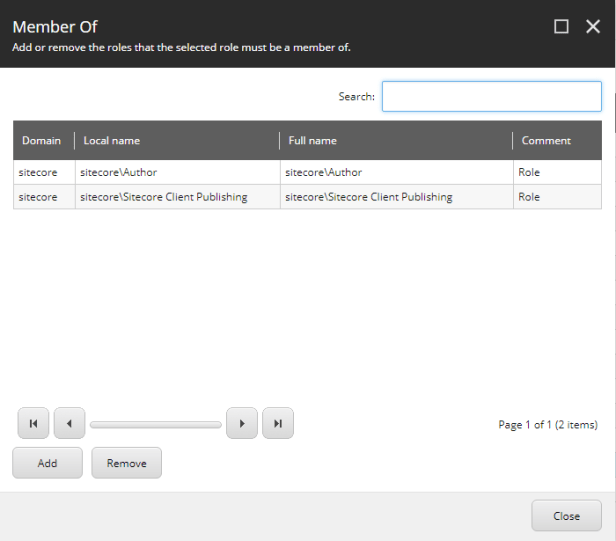
You can specify any roles that are needed in your case. I have decided to use these two. “Sitecore Client Publishing” role is particularly needed to have access to publishing features in Sitecore Ribbon in Content Editor.
4. Setting permissions for role
To set permissions for a role, you need to open Security Editor.
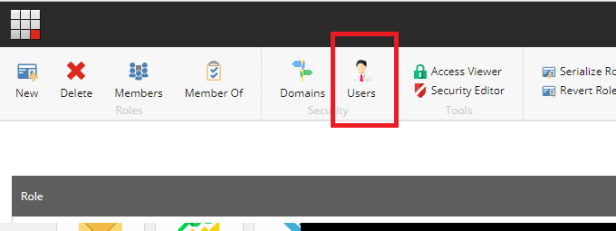
This can be done either directly from toolbar in Role Manager:

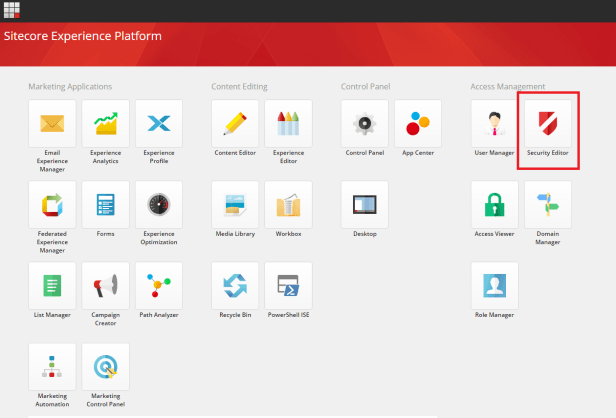
or from Sitecore Lauchpad:
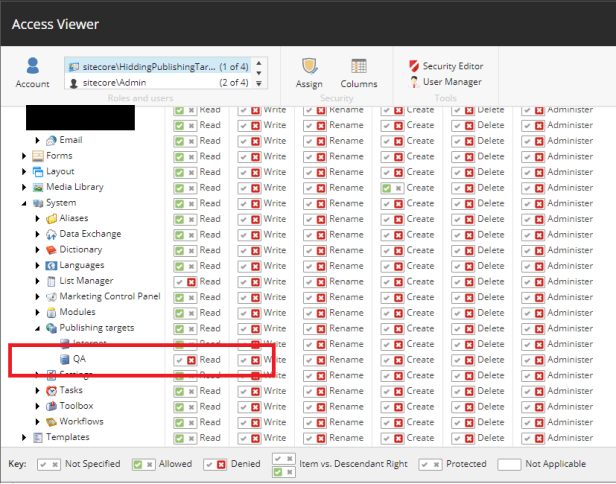
Choose your role and navigate in content tree on right side to /sitecore/System/Publishing targets. Click on one of publishing targets that you want to set permissions on (for me it was QA) and click on X in Inheritance column. X will be highlighted with red X icon. With this action, you have explicitly broken inheritance of permissions. In other words, permissions won’t be inherited for this item for this role and therefore anybody with this role won’t have any permissions for this item anymore.
As we want to hide this publishing target from that role, our job is done. We don’t need to set “Read” or “Write” permissions here. User with this role won’t have either “Read” or “Write” permissions which is what we wanted to achieve here.

To check and validate whether changes are also effectively applied for this role, you can open Access Viewer.
Permissions are always applied immediately so you don’t need to login again with user. Just refresh your browser…
This can be done either directly from toolbar in Role Manager or any other security tool:

or from Sitecore Lauchpad:

Again select desired role and navigate to your Publishing target in content tree on the right side of the screen. You will see that permissions should be applied.
5. Creating user
Let’s take a look how permissions are applied directly in Sitecore. Best is to see it with a user.
To create a user, you need to open User Manager.
This can be done either directly from toolbar in Role Manager or any other security tool:
or from Sitecore Lauchpad:
Click on “New” button in toolbar:

Specify user name and other properties for the user and don’t forget to click on “Edit” button next to “Roles” field and select our freshly created role in chapter 3 “HidingPublishingTargets”. As you can see, roles which are cascadingly inherited are also shown here in dialog with “<” prefix and “>” suffix. Neat functionality…

Switch back to Access Viewer and check whether user has proper permissions inherited from our “HidingPublishingTargets” role (similarly to chapter 4 but this time for user not role):

Seems everything is set so let’s hop into Sitecore.
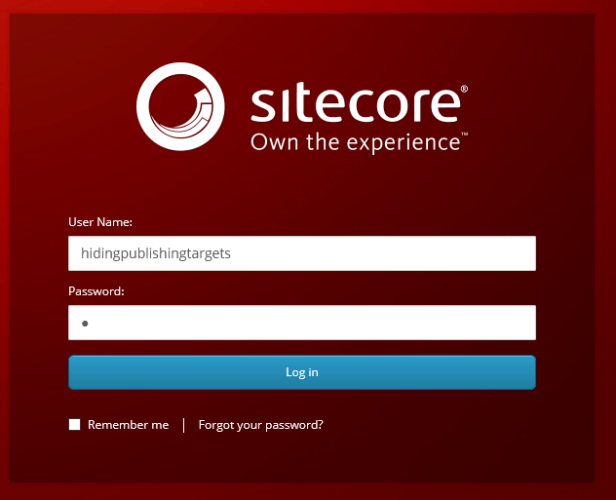
Login with freshly created user:
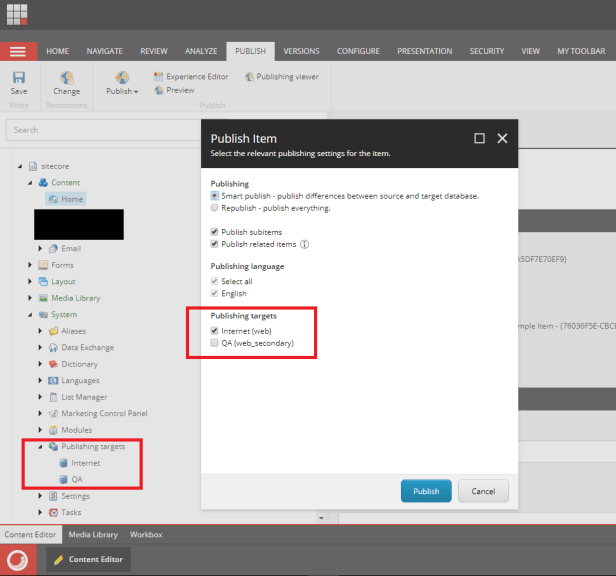
Try to publish something and our second publishing target is gone 🙂
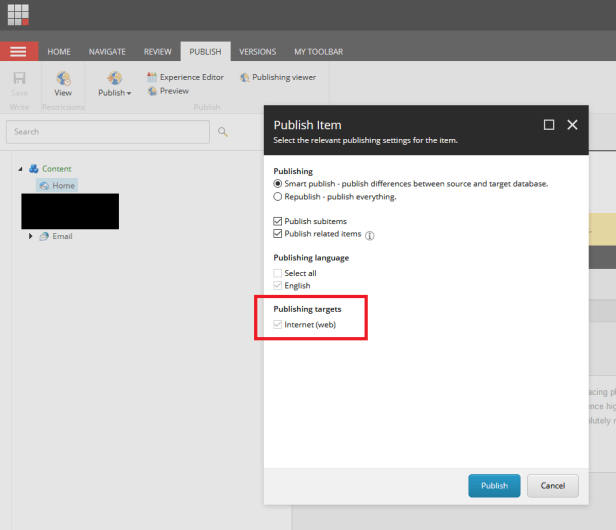
Congrats! Working as expected 🙂
6. Difference between Read and Write permissions
In the beginning of this post, I mentioned there is possibility to disable or even completely hide publishing targets.
Step by step guide above (chapters 1-5) showed you how to completely hide publishing target. We broke “Inheritance” permissions for this and effectively role lost “Read” permissions by this action.
In oppose “Write” permissions on publishing targets enable / disable checking publishing target.
“Read” permissions on publishing targets show / hide them.
“Write” permissions on publishing targets enable / disable them.
Let’s quick play around these settings to showcase it.
Don’t forget – Permissions are always applied immediately so you don’t need to login again with user. Just refresh your browser…
6.1. “Write” permissions not set
Let’s first do anything with “Write” permissions through Security Editor for our role. Do not forget that “Inheritance” permission are denied and “Read” permissions are still allowed.
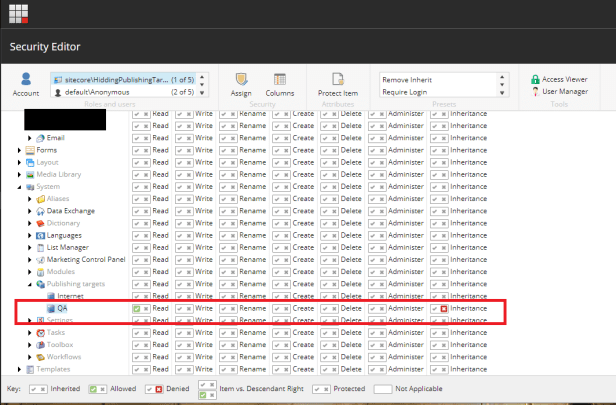
As you can see, publishing target is present but it’s not clickable and therefore there is no possibility to check the checkbox: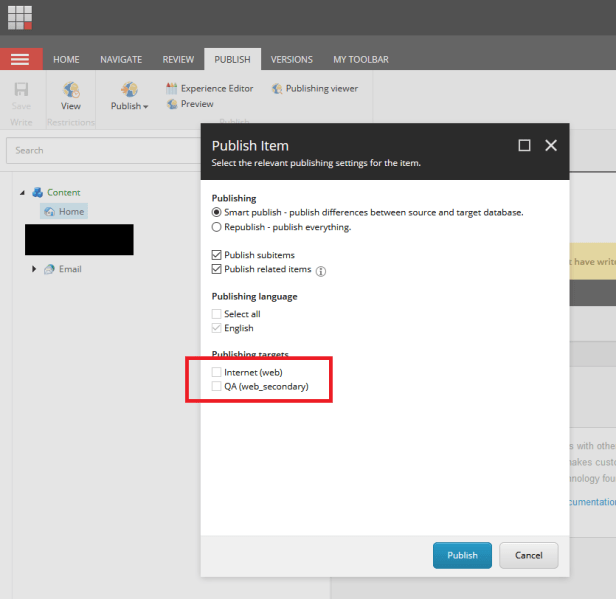
6.2. “Write” permissions allowed
Let’s continue by allowing “Write” permissions through Security Editor for our role. Do not forget that “Inheritance” permission are denied and “Read” permissions are still allowed. Just click on “tick” button in Write column for desired publishing target:
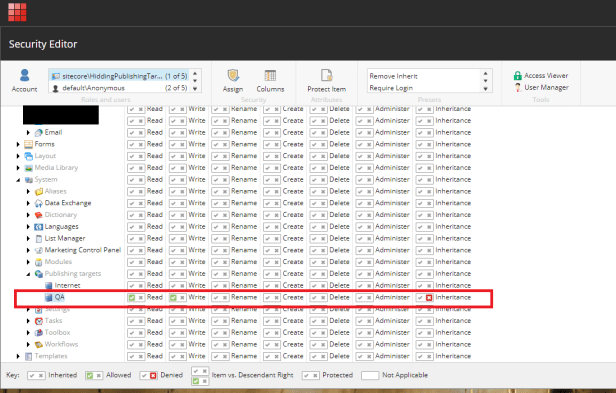
As you can see, situation has changed. Publishing target is present and it’s also clickable and therefore user can check it:


Till next time.
Happy coding!
